
DuraTPE® Series Instructions
Preparation
Choose the Right Size for Your Coil Spring (ref. to Fig 1 & 2)
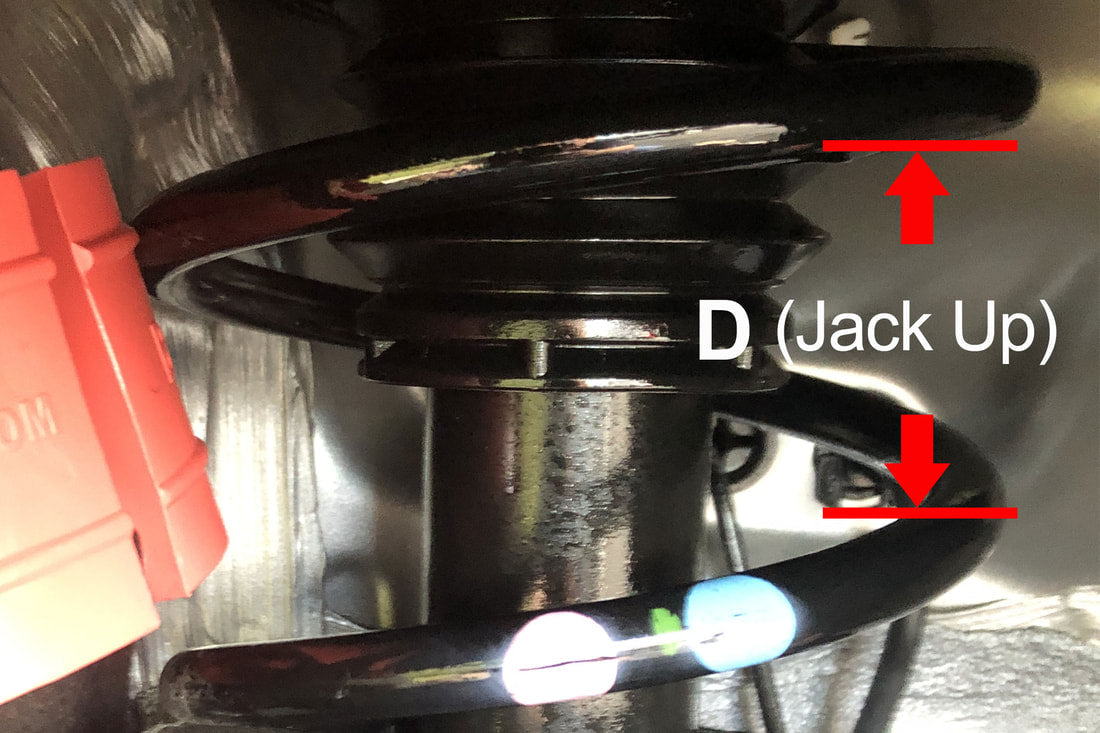
Fig 1, “D” for measuring points

Fig 2 (Click on image to view larger)
Installation
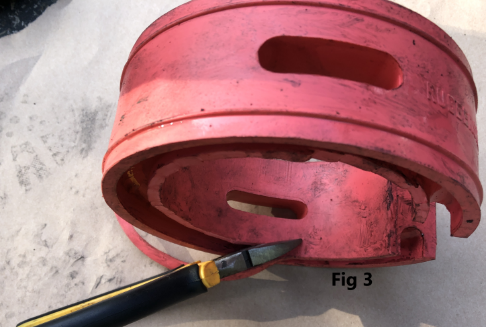
Fig 3

Fig 4
Fig 1, “D” for measuring points
Fig 2 (Click on image to view larger)
Fig 3
Fig 4